Adding Ink and Dimension to an Embossed Background
Hello, it's Mindy! Today I'm sharing how to create a beautiful background by adding ink and dimension to an embossed background using the Handmade Happiness 3D embossing folder.

Key Takeaways
- Ink + emboss in one step for instant dimension: Lightly ink the embossing folder before running it through to get both color and texture at once, then softly blend ink over the raised areas to enhance details.
- Build depth with layers and contrast: Add a dimensional focal point (layered butterfly with subtle shading) and pair it with a bold, high-contrast sentiment to make the design pop.
- Finish with thoughtful details: Trim for a clean frame, use foam tape for lift, and add light splatter and sequins for a touch of shine without overwhelming the design.
Creating The Embossed Background
I started with a piece of white cardstock and before running it through my die-cutting machine with the Handmade Happiness 3D embossing folder, I lightly inked up the opposite side of the folder with Dew Drop ink. This is one of my favorite little tricks because it transfers some of that color onto the cardstock as it embosses, so you get both texture and color in one step. I didn’t worry about making it perfect — I just added the ink randomly toward the center for more of a sporadic, natural look.
The Handmade Happiness folder itself is full of greetings and encouraging messages, so it creates such a meaningful background right from the start.
Adding Ink to Bring Out the Embossed Background Details
Once the panel was embossed, I went over the top with Dew Drop and Aqualicious ink using a large blending brush. I kept the blending light because I wanted the raised areas to catch the ink and really highlight all that texture. This step makes a big difference — it helps all those little details stand out instead of getting lost.

To finish off the background, I splattered on some gold metallic watercolor with a paintbrush. I love adding splatter at this stage because it breaks up the space a bit and adds just a touch of shine without overpowering the design.
Preparing the Card Base
After the embossed background was finished, I trimmed the panel down to 4" x 5 1/4". Trimming it down gives a nice clean border when you add it to the card base, which helps frame all that texture.
I attached the panel to the front of my card using foam tape. I almost always use foam tape for embossed panels because that extra lift really enhances the dimensional look.
Creating the Butterfly Focal Point
For the focal point, I used the Zero Waste Fluttering Fantasies die to cut out butterflies from Dew Drop cardstock, Aqualicious cardstock, and vellum. I also cut the butterfly bodies from Pure Graphite cardstock so they’d stand out nicely against the lighter colors.

I layered one butterfly together and added just a touch of ink blending to the wings. Even though the cardstock already had color, that little bit of extra shading helps give the butterfly more depth and makes it feel less flat. Once it was assembled, I placed the butterfly in the center of the card to act as the main focal point.
Adding the Sentiment and Finishing Touches
To finish off the design, I heat embossed a sentiment from the Whole Hearted Sentiments set using white pigment ink and white embossing powder on black cardstock. I love using white embossing on black because it creates such a bold contrast and makes the sentiment really stand out against the colorful background.

I trimmed the sentiment using the coordinating die and tucked it just under the butterfly using foam tape so it layered nicely into the design. For the final touch, I added a few Dazzling Diamond sequins with liquid glue. Just a small amount of sparkle helps bring everything together without taking attention away from the butterfly and background.
Wrapping Up Your Gorgeous Embossed Background Design
I hope this gives you a little inspiration to try adding ink to your embossing folders and experimenting with layered color on embossed backgrounds. It’s a simple technique, but it adds so much interest and depth to your cards. Thanks so much for stopping by today, and I hope you have fun creating your own version of this design! ✨

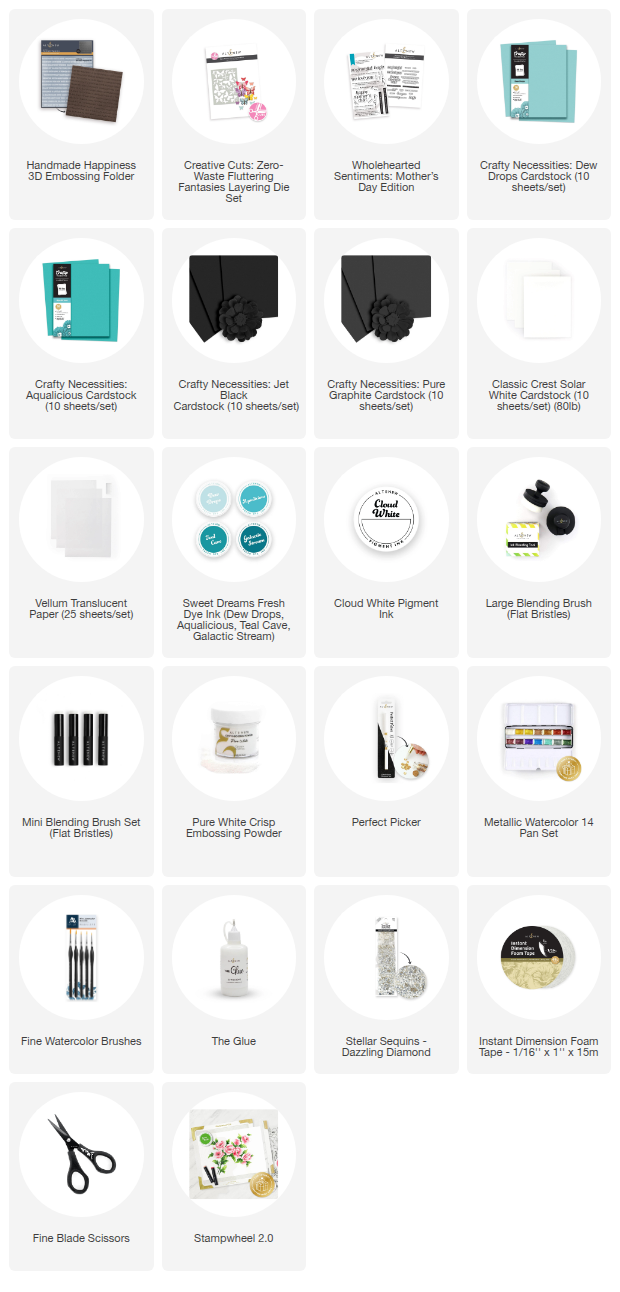
SUPPLIES