Autumn Craft Ideas with Fall Pickings Die Set
by Lea Lawson September 30, 2026

Key Takeaways
- 3D embossing tips — Use Weathered Bark with the standard sandwich (Base A, folder, Adapter D), and add the F Shim if you want deeper texture.
- Emboss‑then‑cut guidance — For Decorative Frames, die‑cut first and emboss second to preserve crisp, raised details.
- Ink‑blended die cuts — Fall Pickings shines when cut from white cardstock and ink‑blended for custom autumn gradients.
- Stamped and embossed sentiments— Use the Stampwheel for perfect placement; emboss the main sentiment in Antique Gold and stamp the secondary in Espresso.
- Layering and finishing touches — Amber Blaze cardstock, Thin Foam Adhesive Strips, ClearFix glue, and Antique Gold Stellar Sequins bring the whole autumn design together.
Hello, crafty friends! Lea here today with another edition of Light & Airy Looks with Lea.
As the leaves turn and the autumn air grows crisp, it’s the perfect season to explore fresh autumn craft ideas that capture the warmth and cozy charm of the fall months. Today, I’m sharing a step-by-step tutorial for a richly textured, handmade fall greeting card.
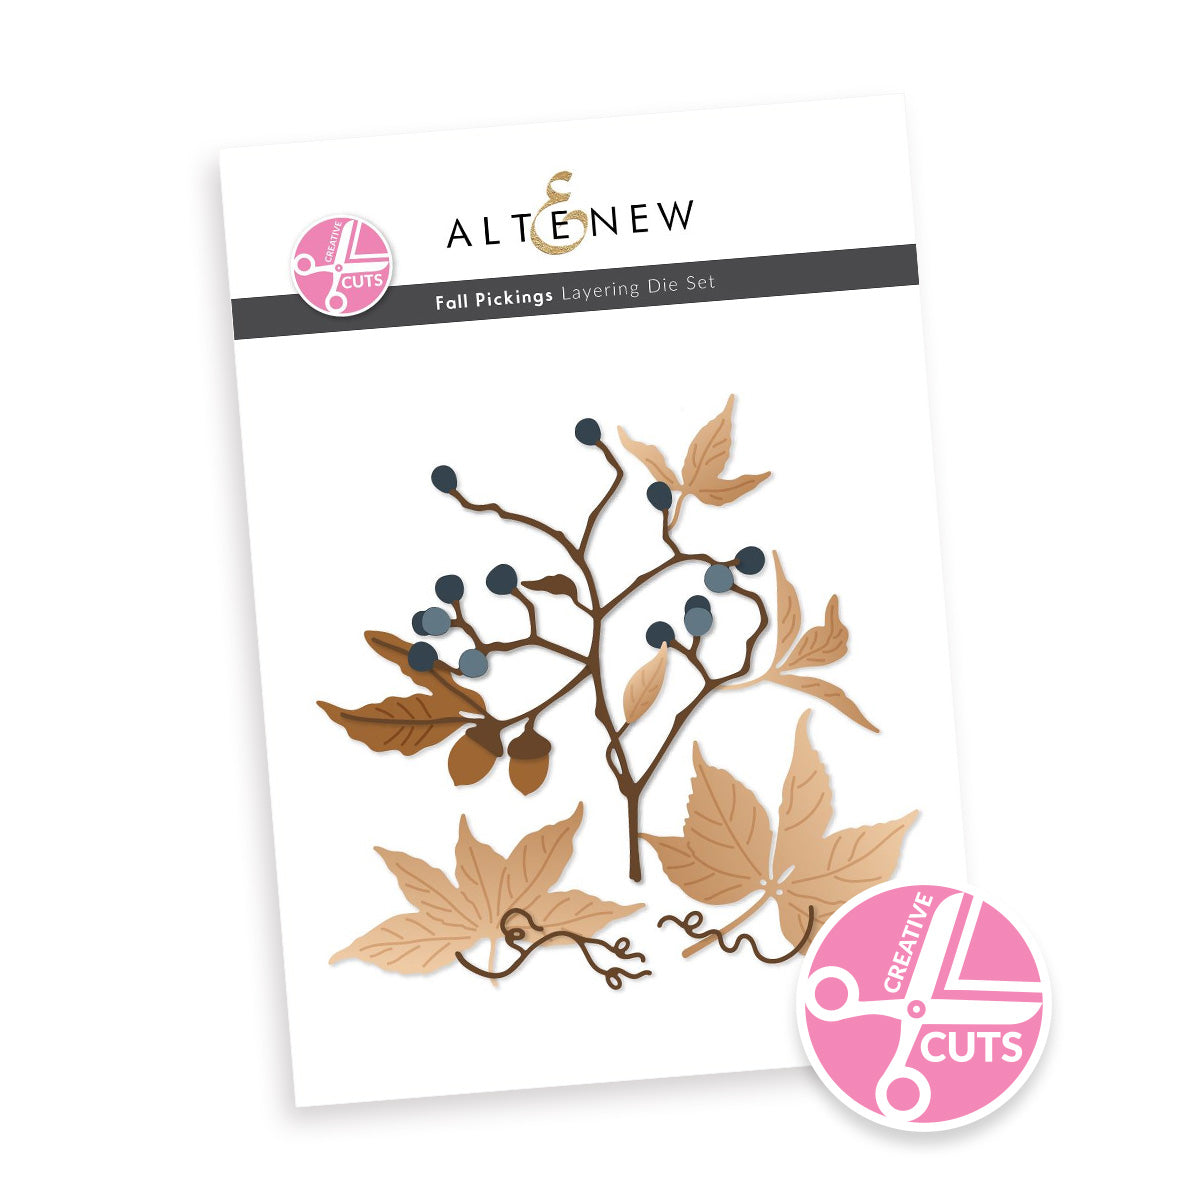
This project combines the versatile Creative Cuts: Fall Pickings Layering Die Set, two stunning 3D embossing folders, and elegant sentiments from the Regal Flourishes Stamp & Die Set. Whether you’re crafting a token of gratitude, sending a warm autumn friendship note, or building up your seasonal handmade card stash, these beginner-friendly and space-friendly autumn craft ideas will help you bring your artistic vision to life.

Adding Texture with 3D Embossing Folders
One of the quickest ways to elevate your autumn craft ideas is by incorporating deep, tactile dimension. Altenew’s 3D embossing folders make this effortless. For this project, layering two distinct embossing designs creates a rich, nature-inspired foundation.

Weathered Bark 3D Embossing Folder (Rustic Background)
The background begins with the Weathered Bark 3D Embossing Folder embossed onto Peachy Glow cardstock. This folder creates an organic tree-bark texture that serves as an earthy backdrop for fall leaves and branches.
The Ideal 3D Embossing Sandwich Setup:
Platform Base A
3D Embossing Folder (with cardstock placed inside)
Adapter Plate D
Pro-Tip for Maximum Impression Depth: If your die-cutting machine requires slightly more pressure to capture every ridge of the bark, insert the F Shim into your sandwich. This small addition increases pressure significantly, producing a deeply sculpted impression on heavy cardstock.


Decorative Frames 3D Emboss & Cut (Golden Frame Accent)
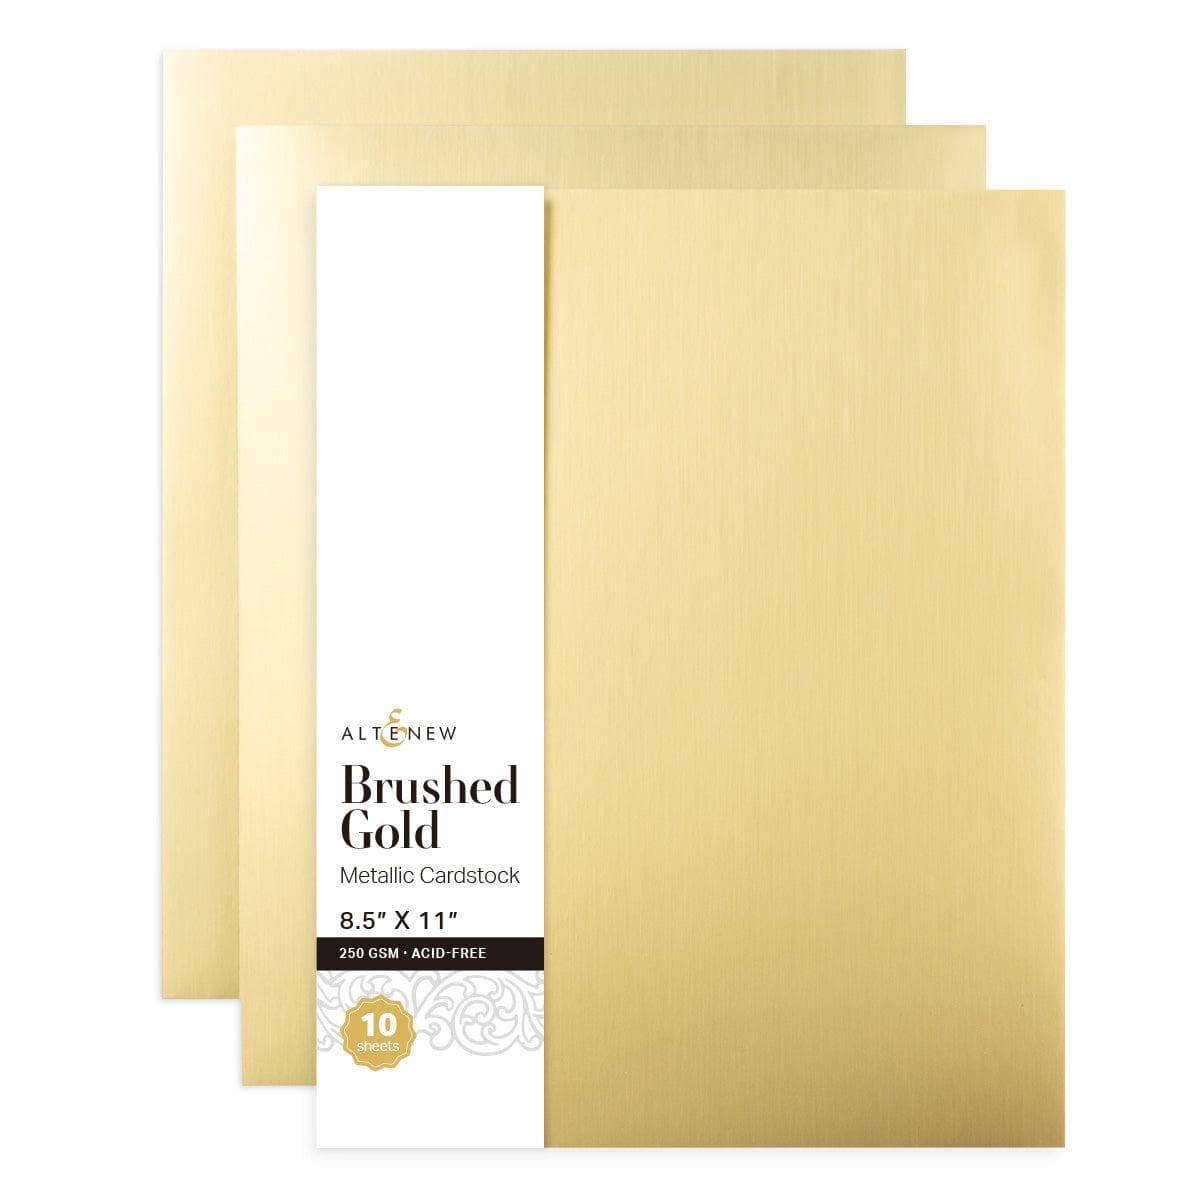
To create a focal centerpiece, use the Decorative Frames 3D Emboss & Cut Folder with Brushed Gold Cardstock. The metallic sheen brings a luminous warmth that enhances overall seasonal card designs.
Crucial Embossing Sequence: Always die-cut the frame first, then emboss second. Running an already-embossed paper shape through a heavy die-cut blade can flatten delicate raised details. Following this exact order preserves the crisp, ornate 3D texture.

Crafting Ink-Blended Foliage with the Fall Pickings Die Set
The Creative Cuts: Fall Pickings Layering Die Set serves as the centerpiece of this design, allowing you to build dimensional clusters of leaves, berries, and branches.
Instead of cutting individual shapes from colored cardstock, cut all pieces from heavy white cardstock and hand-blend your ink colors. This technique gives you complete creative control over color transitions, mimicking the natural gradient shifts seen in real autumn foliage. Ink blending is budget-friendly, space-friendly, and open to endless color combinations.


Recommended Fall Ink Color Families
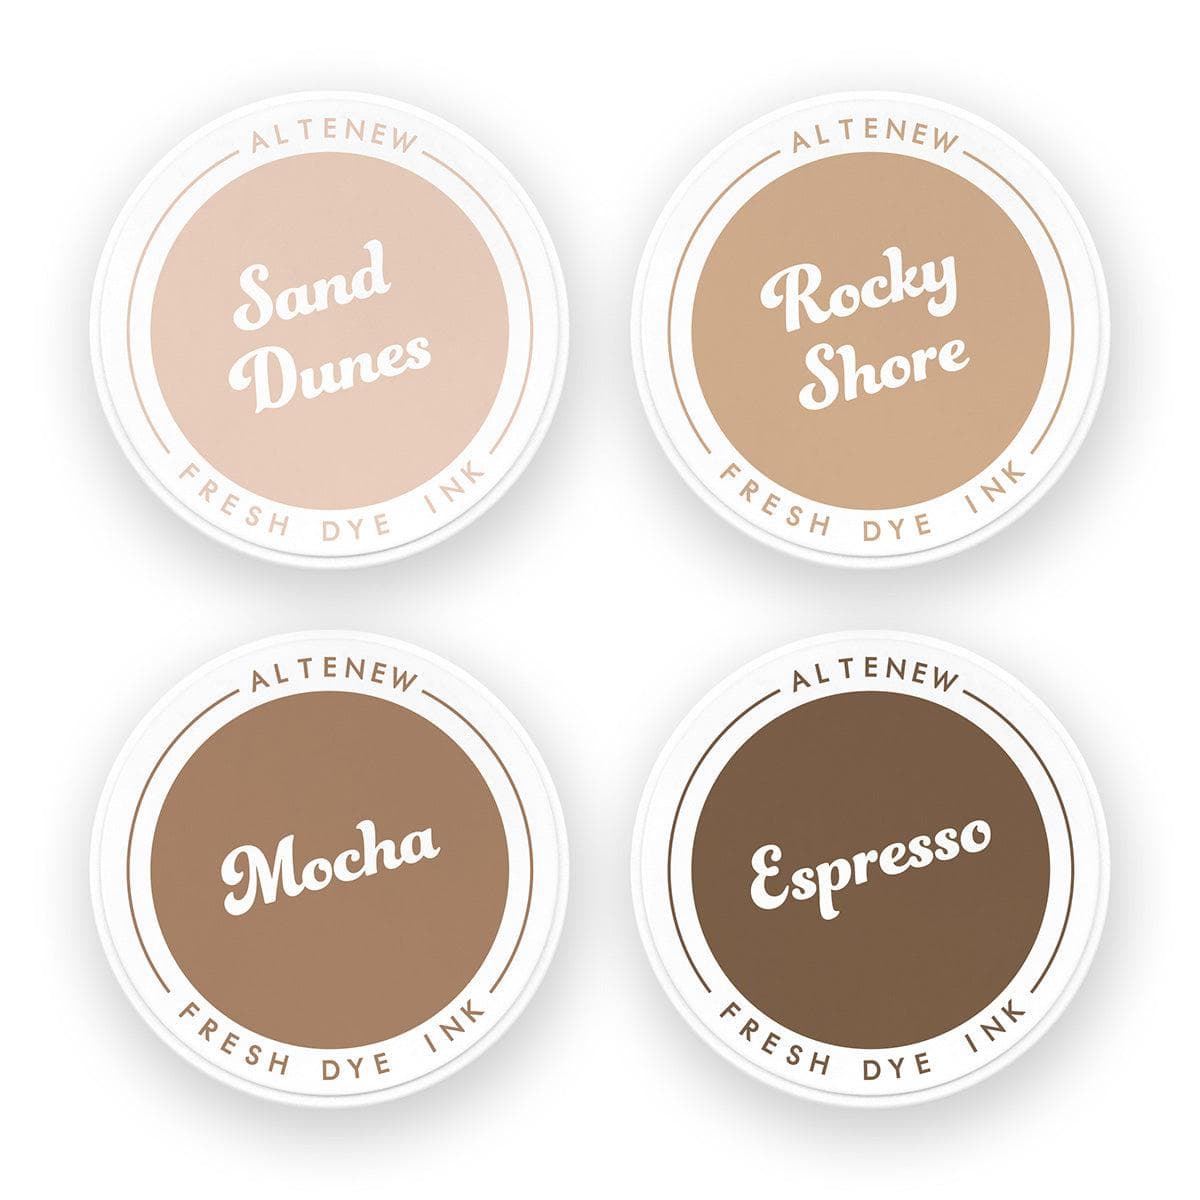
Coffee Break Family: Rocky Shore, Mocha, Espresso (Earthy brown stems & accents)
Martian Terrain Family: Burnt Red (Warm, bold crimson leaves)
Golden Sunset Family: Snapdragon, Terracotta (Vibrant amber and rust highlights)
Splatter Techniques for Added Realism
After ink blending your die-cut foliage, flick fine splatters of Pure White and Antique Gold Ink Sprays over the pieces. This adds dynamic micro-texture, subtle shimmer, and an organic finished look.

Stamping and Heat Embossing Sentiments
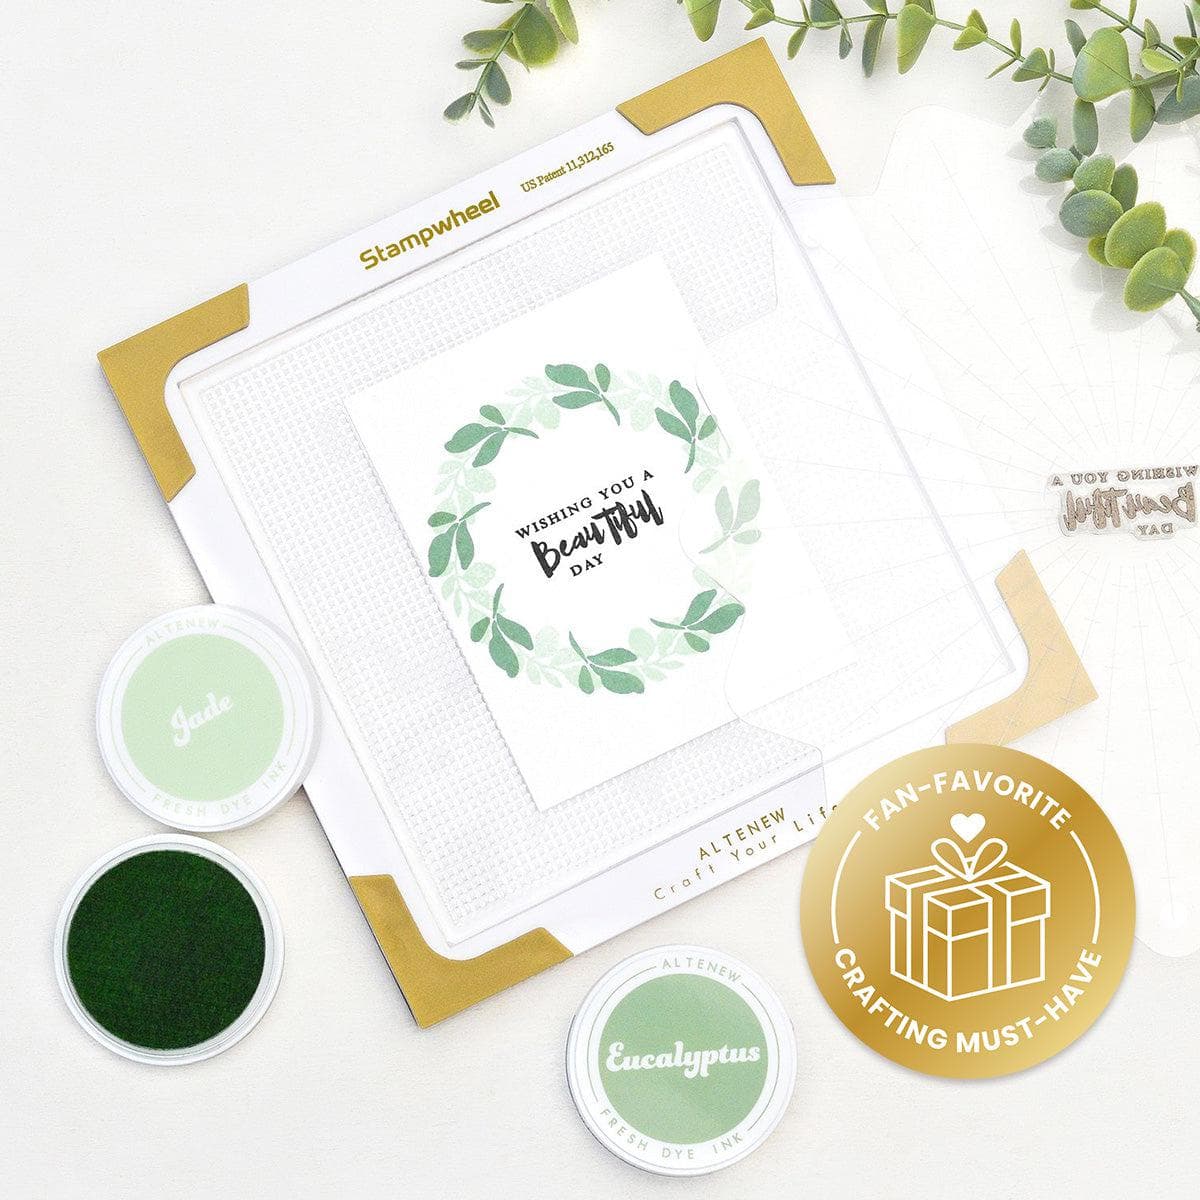
A meaningful sentiment anchors any handmade greeting card. Using a precision tool like the Altenew Stampwheel ensures exact alignment and crisp ink transfers every time.
Primary Sentiment: Heat Embossed in Antique Gold
Position your sentiment stamp on the Stampwheel and ink it thoroughly with embossing ink.
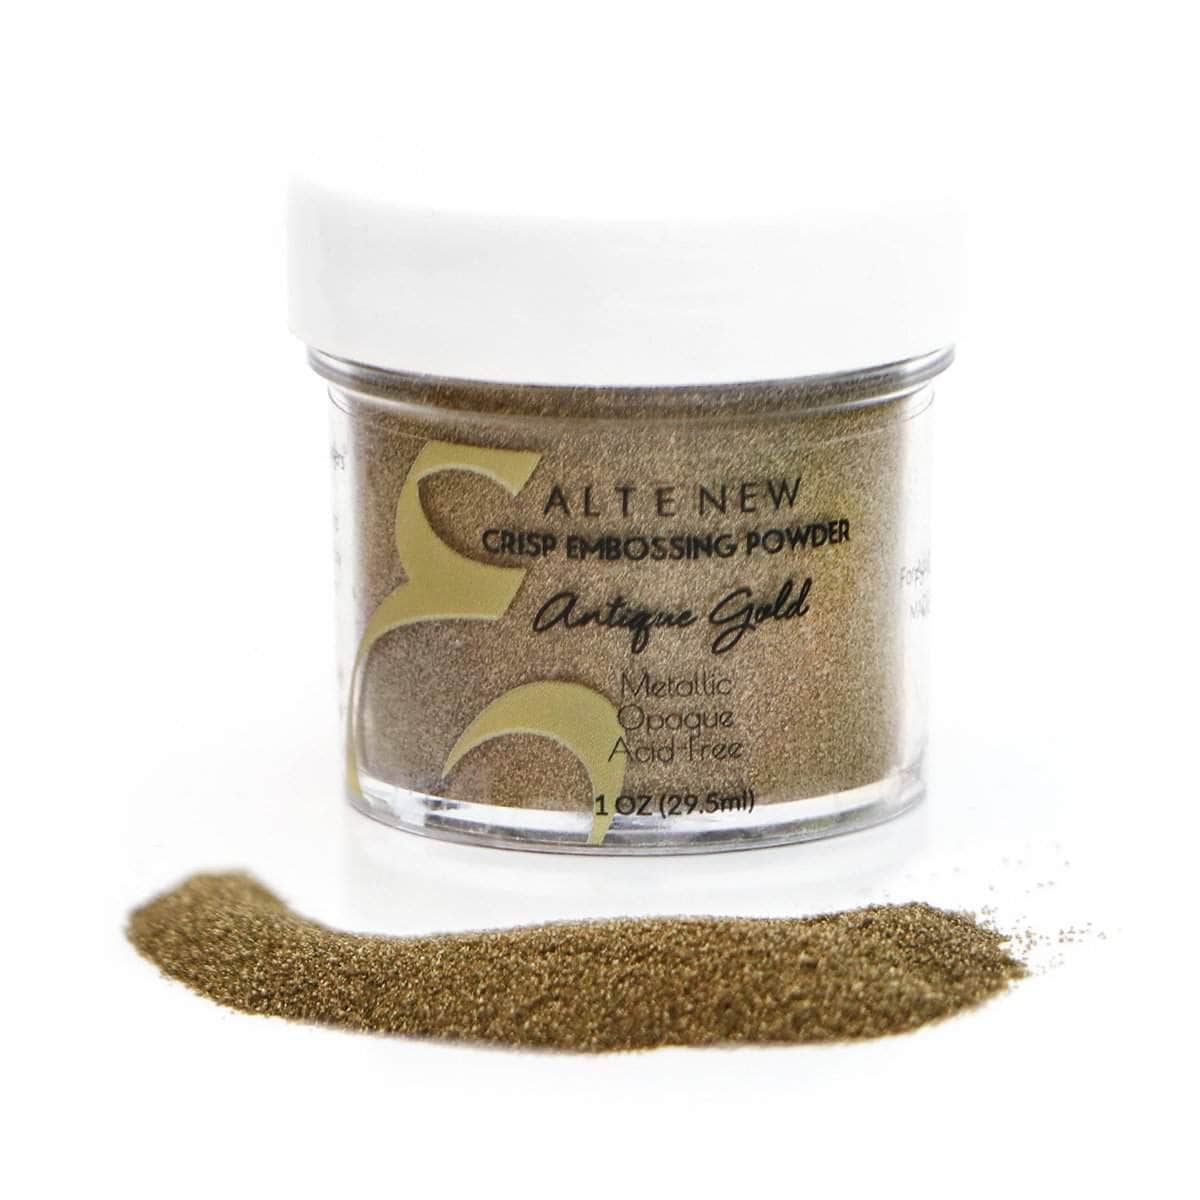
Stamp onto cardstock, dust with Antique Gold Embossing Powder, and tap off any excess.
Apply heat with a heat tool until the powder melts into a smooth, glossy metallic finish.
Use the coordinating die to cut out the sentiment for clean, elevated edges.
Secondary Sentiment: Crisp Stamping in Espresso Ink
Stamp the accent message in Espresso ink (a rich, dark brown that offers softer contrast than harsh black). Trim the sentiment into a narrow strip and tuck it adjacent to the primary sentiment to add balance and structural grounding to your layout.

Assembling Your Handmade Autumn Card
With all individual elements prepared, follow these steps to assemble a clean, cohesive layout:
Card Base Preparation: Cover your main card base with Amber Blaze Cardstock. This saturated orange backdrop unifies the warm ink tones and makes the gold accents pop.
Adding Dimensional Depth: Mount your focal elements and sentiment strips using Altenew’s Thin Foam Adhesive Strips. These provide subtle elevation without adding excessive weight or bulk for mailing.
-
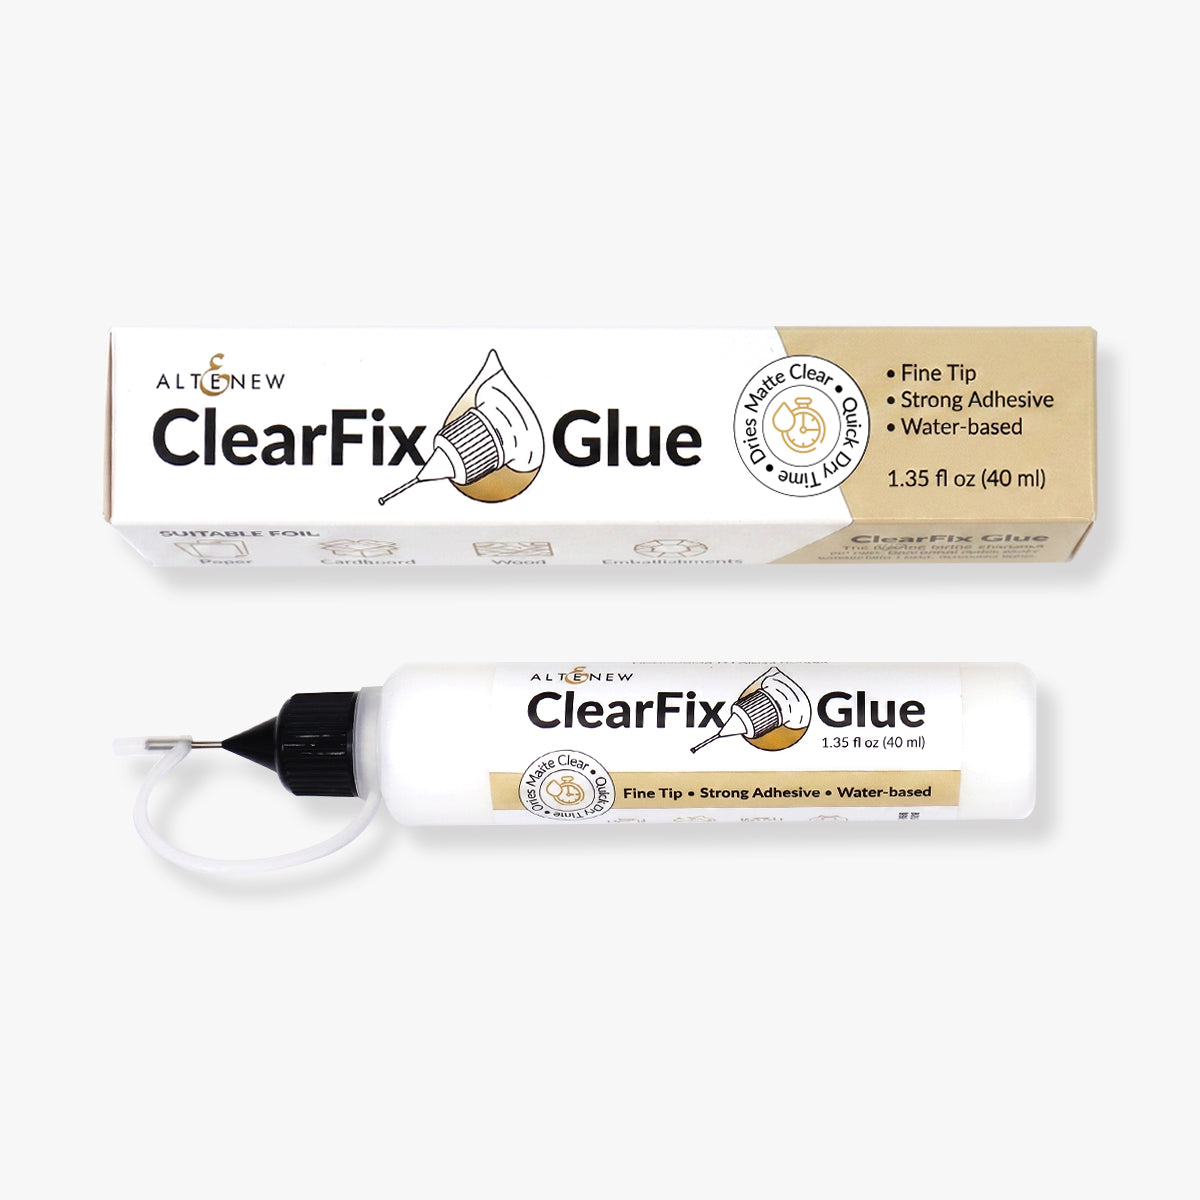
Precision Adhesion with ClearFix Glue: Secure intricate leaf stems, delicate die-cut branches, and small embellishments using ClearFix Glue. This adhesive dries completely clear with a strong bond.
Tip: Keep a fine stainless steel pin stored in the applicator tip between uses to prevent clogging.
Finishing Touches: Accent the focal cluster with a scattering of Antique Gold Stellar Sequins. The subtle sparkle catches the light and echoes the gold embossed text and frame.
Check Out The Fall Pickings Autumn Card Tutorial Here!
Watch the full Fall Pickings Autumn Card Tutorial to see these techniques in action!
Combining rich 3D textures, hand-blended color gradients, and polished gold accents makes creating handmade fall cards rewarding and fun. Whether you adapt these steps using the Creative Cuts: Fall Pickings Layering Die Set or experiment with other items in your craft room, these autumn craft ideas offer endless possibilities for your seasonal cardmaking.
Warmly,
Lea
Supplies
|