Create A Modern and Graphic Project with Nesting A2 Panels Die Set
by Nathalie DeSousa August 18, 2026

Key Takeaways
Essential Tool: The Nesting A2 Panels Die Set provides versatile rectangular geometric bases perfect for frames, layered mats, and tiled puzzle backgrounds.
Graphic Tiling Technique: Rotating and offset-layering die-cut panels adds clean lines, dynamic movement, and visual interest to cardmaking and scrapbooking layouts.
Dimensional Contrast: Combining flat negative spaces with foam-adhered, stamped, and ink-blended panel layers creates eye-catching modern depth.
Hello, crafty friends! It's Nathalie here with you today to share a fun, creative idea on how to create a modern and graphic project with Nesting A2 Panels Die Set.
This new die set is a versatile, essential tool that deserves a permanent spot in your main craft supplies. Because basic geometric shapes form the foundation of this set, it opens up a wide berth of creative possibilities—from classic photo frames and simple matting panels to complex layered layouts, tiled backgrounds, or a combination of both! Today, I decided to take a cardmaking technique and adapt it into a larger layout that fits easily into my 6x8 Family Album.
Let's take a closer look at what I created with the new Nesting A2 Panels Die Set and explore how you can try this technique at home.

Why Use the Nesting A2 Panels Die Set for Graphic Crafts?
To create a striking modern layout, it helps to emphasize the clean, rectangular, and linear design of the dies. One of the best ways to highlight these crisp lines is by crafting a tiled background with a unique artistic twist.
By taking advantage of the sharp, angular edges of the panels, you can construct a dynamic puzzle-like or tiled background across your page. Alternating the orientation and direction of the panels keeps the overall design looking fresh, graphic, and full of energy, while intricate stamped details bring softness and contrast to the structured layout.

Step-by-Step Tutorial: Crafting a Modern & Graphic Layout
Follow these simple steps to build your own textured, layered background:
Step 1: Prepare and Stamp Your Cardstock Base
Trim Your Cardstock: Cut one piece of white cardstock to 6" x 8.25" and one piece of Crafty Necessities Pink Sand Cardstock to 6" x 8.25".
Align the Base: Place your cardstock on the Stampwheel base using the Stampwheel Center Alignment Guides for precise positioning.
Position Stamps: Arrange stamps from the Build-A-Garden: Garland Grace and Flowers & Flourishes sets to form a continuous floral design in the top-left corner of the cardstock base.
Stamp the Image: Stamp the floral corner impression onto both cardstock pieces using Obsidian Pigment Ink.

Step 2: Add Vibrant Ink Blending
Color the Images: Using the Flowers & Flourishes layering stamp set, add color only to the stamped image on the white cardstock.
Blend Inks: Combine Pink Parchment Fresh Dye Ink and Sunlit Sand Fresh Dye Ink for the flower petals. For the leaves and stems, use Frosted Seaglass Fresh Dye Ink and Coastal Haze Fresh Dye Ink.
Dry: Set the colored panel aside to dry completely.
Step 3: Die-Cut Continuous Tiled Panels
Die-Cut the Pink Sand Base: Using the smaller dies in the Nesting A2 Panels Die Set (skipping the smallest die for this stage), cut continuous panel shapes out of the Pink Sand stamped cardstock.
Rotate for Movement: Alternate and shift the direction of the dies as you cut to create a dynamic, puzzle-style grid across the page. (Pro Tip: Use the outer edges of the dies to guide your alignment).
Save Your Scrap: Continue die-cutting until the entire sheet is divided into panels. Save the negative outline piece left behind after cutting out all your panels.

How to Add Color and Dimension with Nesting Dies
Now that the structural base of the project is complete, it is time to bring in the graphic details that make these simple die-cut panels pop! Adding dimension, contrast, and color turns the tiled grid into an eye-catching focal point.

Step 4: Layering, Cutting, and Assembly
Guide Alignment: Lay the Pink Sand negative frame piece directly on top of the stamped and colored white cardstock sheet.
Selective Cutting: Use the open spaces as guides to position smaller nesting dies over the areas containing stamped floral images. Cut out only the portions of white cardstock that feature the colored images.
Pattern Matching: Carefully adhere the colored white panels on top of their matching Pink Sand stamped panels using liquid glue, ensuring the floral images align seamlessly. Set aside.
Prepare Main Backing: Cut a 6" x 8" piece of clean white cardstock. Using liquid adhesive, glue the Pink Sand negative frame piece onto this backing sheet and trim away any excess overhang around the outer edges.
Pop Up Panels with Foam: Attach the layered floral panels back into their corresponding empty negative spaces using foam adhesive for raised dimension, matching up the floral artwork.
Fill Remaining Spaces: Glue the remaining non-stamped Pink Sand panels directly into the open spaces on the background.
Step 5: Adding a Graphic Sentiment Focal Point
Choose a Panel: Select one of the solid panels on your layout to hold your sentiment.
Die-Cut Sentiment Offset: Use the offset die from the Timeless Sentiments Die Set to cut out a sentiment background from your chosen Pink Sand panel section, then adhere the outer negative piece into the background space.
Add Glitter Accent: Die-cut the main sentiment letters from glitter cardstock. Mount the sentiment into the negative offset space using foam adhesive for maximum shine and pop.

Final Thoughts on Designing with Nesting Dies
I love how simple and rewarding it is to create a modern and graphic project. Playing with geometric orientation, negative space, and foam dimension transforms simple cardstock into a stunning album layout or card front.
I hope this tutorial inspires you to pull out your favorite nesting dies and try this tiled technique on your next project!
Happy crafting!
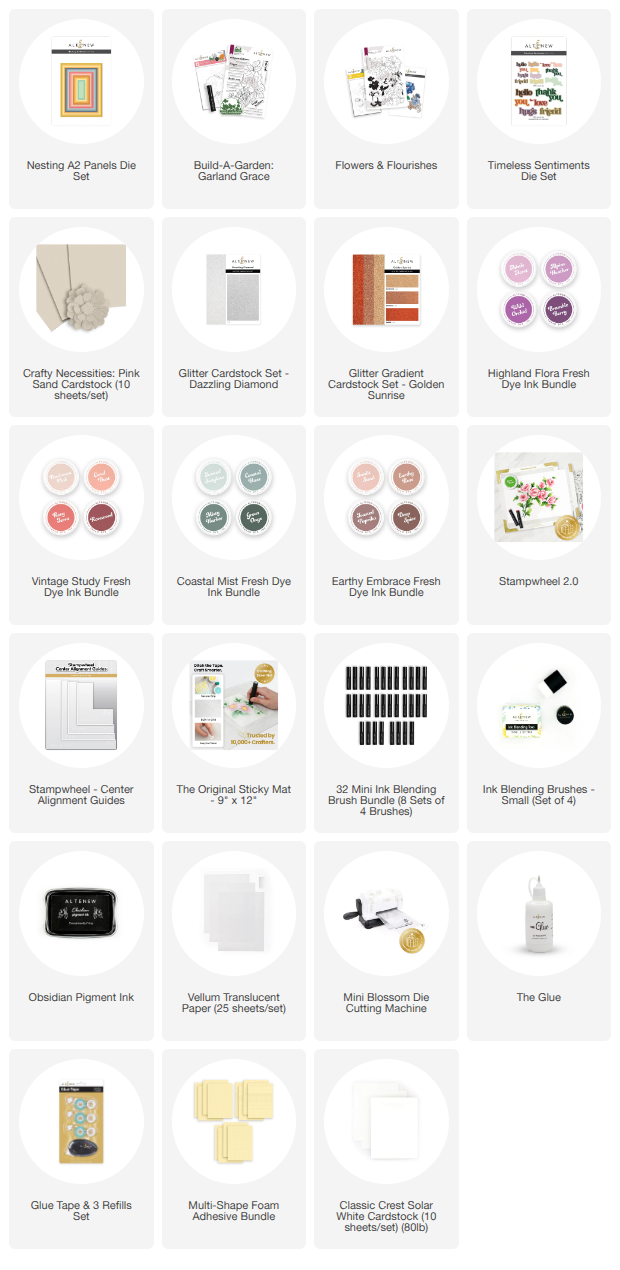
Supply List