Elevate Your Tag Game: How to Make a Fun Folding Tag
KEY TAKEAWAYS
Folding Tag Concept: Create a tag that opens and stands like a mini-card by hinging two identical die-cut shapes (e.g., arches) with a scored top flap.
Production Efficiency: Use "One-Go" stamp and stencil sets to mass-produce multiple floral focal points and sentiments simultaneously.
-
Construction Steps: * Die-cut two base shapes.
Score a hinge on one and adhere it to the second.
Punch a hole through both layers to add twine, maintaining the "tag" aesthetic.
Dimension & Detail: Use foam tape for depth, clear sequins for embellishment, and coordinating dies for professional-looking sentiments.
Versatility: The design functions as a gift tag, a standalone mini-card (by omitting the hole), or a decorative display piece.
Hello there, Michelle here with another edition of Terrific Tags with Michelle. Today I have a fun project to share - a folding tag!
This tag opens like a card and can even stand up like a card but still has the hole and twine detail at the top to distinguish it as a tag. Tags just got a whole lot better!

Floral Focal Point
I started off by creating my focal point using One-Go: Friendship Flowers. This is a fantastic set as, like the name suggests, you can do everything in one go! You can stamp all the images in one go, add the ink blending in one go, and then die cut them out all in one go!
I am only using one image from the set today, so I did things slightly differently.
I started off by stamping the main image (with the four flower clusters) onto a panel of Classic Crest 110lb Solar White Cardstock using Obsidian Pigment Ink and the Stampwheel 2.0.

I then die cut them out using the coordinating die. The images that I did not use got popped into the back of the storage pocket. This is a great way to utilize the set if you don't want to add the ink blending on all of the images at the same time. This way, when I next go to use the set, my images will already be stamped and die cut out and I just need to add the color to them!
I placed the image that I picked to use onto my Sticky Mat to hold it in place while I did the stenciling on top.
I placed the stencils over the image, one by one, to add ink blending using Fresh Dye Inks and Mini and Micro Blending Brushes.
I used:
- Stencil 1 with Pink Diamond Ink
- Stencil 2 with Pinkalicious Ink
- Stencil 3 with Razzleberry Ink
- Stencil 4 with Sunray Ink for the flower centers, and Firefly Ink for the leaves
- Stencil 5 with Chamonile Ink for the flower centers, and Grass Field Ink for the leaves

Folding Tag
For the tag itself, I die cut two arches from the Nesting Arches Die Set from Classic Crest 110lb Solar White Cardstock.
On one tag, I scored a line towards the top of the arch to create a hinge, using the Crafter's Essential Scoring Board and Crafter's Essential Bone Folder.
I added Ultra Sticky Double Sided Tape to the hinge and adhered it to the other arch piece. At this point, you can use it as an arch shaped card, but I took it a step further and made it into a tag.

I made a pencil mark at the top of the arch and used this as a guide to punch a hole. I threaded twine through the hole and tied in a bow at the front.
This created my fun folding tag! You can write a message inside and it stands up nicely for display too.

Sentiment + Finishing Touches
I adhered the floral image to the tag with Instant Dimension Foam Tape.
I then stamped two sentiments from the One-Go: Friendship Flowers Stamp Set onto Classic Crest 110lb Solar White Cardstock using Obsidian Pigment Ink. The 'friend' was die cut out using the coordinating die, and the 'thank you very much' cut into a strip.

They were adhered to the tag with a combination of Instant Dimension Foam Tape and liquid glue.
To finish, I embellished with Stellar Sequins - Clear Iridescent.
Video Tutorial: How to Make a Fun Folding Tag
I hope I have inspired you to try making a fun folding tag! If tags are not your thing, simply exclude the hole at the top and have a mini shaped card instead! You can watch the video tutorial below or over on YouTube.

Thank you so much for stopping by today, I hope you have a wonderful day!

Customer Appreciation Day Special Offer:
Get a FREE Mini Delight: Happy Birthday Stamp & Die Set (worth $15.99) on every order from April 18, 2026 from 12:01 AM EDT until 11:59 PM EDT. Shop here: https://oltonew.shop/collections/all-the-paper-crafting-supplies-you-need
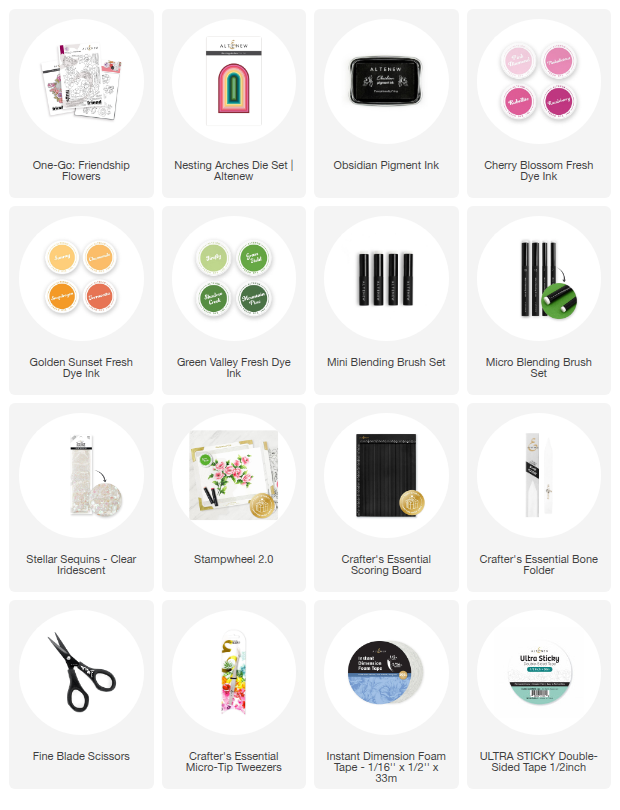
SUPPLY LIST