How to Use Press Plates for Cardmaking: Easy Breezy Day Card
by Nicki Baxley August 25, 2026

Key Takeaways
Texture Without Clutter: Press plates like the Canvas Impressions set add subtle background interest without stealing focus from colorful card elements.
Easy Customization: You can color die-cut elements using alcohol markers to perfectly coordinate shades without needing multiple cardstock colors.
Cohesive Design Strategy: Reusing press plates for both the card background and sentiment creates a balanced, professional finish.
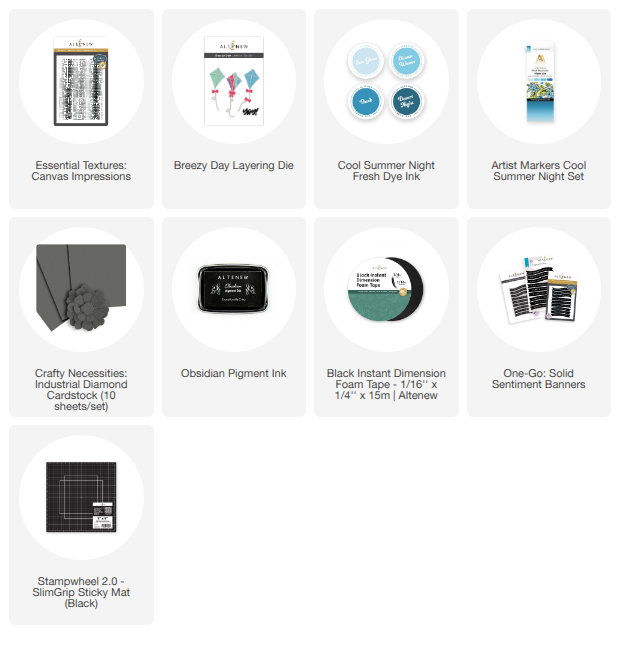
Press plates can add beautiful detail, crisp elegance, and visual interest to your handmade cards! Today, we are exploring techniques using press plates for cardmaking with a colorful kite card project featuring the Canvas Impressions Press Plate and the Breezy Day Layering Die Set. A subtle press plate background, alcohol marker-colored kites, and a crisp press plate sentiment come together to create a cheerful card with plenty of movement and dimension.

Creating a Subtle Background with the Canvas Impressions Press Plate
I started the card setup by running the Canvas Impressions Press Plate through my letterpress machine to create a subtle background. I love adding a textured background like this because it gives a clean card just enough extra detail without competing with the focal point.
The Canvas Impressions design creates a polished backdrop for the colorful kites. Plus, using press plates for cardmaking makes it easy to add crisp, deep detail while keeping the overall design clean and lightweight.
Pro Tip: When your focal point includes several bright colors, try keeping the background subtle. You will still get all the beautiful letterpress detail from the press plate while allowing the main focal images to stand out.
Adding Vibrant Color with the Breezy Day Layering Die Set
Next, I created the kites using the Breezy Day Layering Die Set. Instead of reaching for several different colors of heavy cardstock, I used alcohol markers to add rich color, smooth gradients, and custom shading directly to white die-cut pieces.
Alcohol marker coloring is an easy technique to customize your die cuts while adding extra depth and dimension. I chose several coordinating colors so each kite would feel distinct while still working harmoniously as one design.
Once the kites were assembled, I arranged them at different heights across the card face. Adding kite strings and varying the vertical placement creates dynamic movement, giving the visual illusion that the kites are actually soaring across the textured background.
This card layout is also very easy to adapt for different recipients and occasions. Simply change the color palette or sentiment to adapt it into a birthday card, an encouragement card, or even a fun masculine project.

Adding a Crisp One-Go Banner Sentiment
To finish the design, I pressed a sentiment using the One-Go Banner Sentiments Press Plate. The clean lines of the sentiment work beautifully alongside the detailed Canvas Impressions background and colorful kites without overwhelming the design.
I love repeating a craft technique in more than one area of a card project. Using press plates for both the background texture and the primary sentiment helps give the finished project a cohesive, professional appearance.

Video Tutorial: Breezy Day Kite Card Walkthrough
Want to see the entire process step-by-step? Watch the video tutorial below to see how I created the Canvas Impressions background, added alcohol marker coloring to the Breezy Day kites, and finished the card with the One-Go Banner Sentiments Press Plate.

Press plates are an incredibly versatile addition to your everyday cardmaking supplies. Whether you are creating a subtle background or adding a crisp, deeply pressed sentiment, press plates bring an extra touch of sophistication to any handmade project.
I hope this colorful Breezy Day card inspires you to pull out your press plates and experiment with new designs!
Happy Crafting,
Nicki
SUPPLY LIST