Maximize Your Card Album Presentation with Stencils and Color
by Nathalie DeSousa November 14, 2026

Key Takeaways
Create Symmetrical Focal Points: Use the natural curvature of the Stencil Art: Bowl of Beauty set to mirror floral die cuts for a balanced 9x12 cover page.
Master the "Reverse Stencil" Technique: Flip a blank white die cut over and use the B-side of your layering stencils to create a mirrored, cohesive companion piece.
Build Dimension and Shine: Combine clear acetate, foam adhesive, glitter cardstock, and gem sparkles to add professional depth and texture to your album presentation.
Hello, crafty friends! It's Nathalie with you today to share a new creative idea to maximize your card album presentation with stencils and color, specifically featuring the latest Stencil Art: Bowl of Beauty set.
The generous size of this Stencil Art set makes it ideal for larger paper crafting projects—in this case, a custom cover page for a 9"x12" Three-Ring Album. While traditional cardmaking focuses on smaller A2 dimensions, scaling up your stenciling allows you to create dramatic, full-page layouts. The intricate design of the stencil opens up a rainbow of color possibilities, and pairing it with the coordinating Add-On Die helps elevate the delicate, layered look of the blooms.
Let's look at how you can use this layering stencil and different dye inks to create a standout introductory page for your handmade card or scrapbook album.

How to Maximize Your Card Album Presentation with Stencil Art
The organic movement in the new Stencil Art: Bowl of Beauty design is the primary inspiration for this project. To maximize your card album presentation, I am taking full advantage of the natural curvature of the blooms in the stencil. Rather than scattering elements randomly, following the natural arc of the botanicals helps create a symmetrical, grounded, and balanced design.

The secret to achieving true symmetry on a large page is creating two mirrored die cuts while keeping the orientation and placement of each piece in mind. Because the color palette is completely flexible, you can easily adapt this layout to match the seasonal theme or color story of your specific album, making it truly one-of-a-kind. Let's get ready to transform your album cover using stencils, inks, and a clever mirror-image technique.

Step-by-Step Tutorial: Creating Mirrored Stencil Art Floral Die Cuts
Follow these steps to create both a standard colored die cut and a mirrored "negative" die cut for a balanced, symmetrical layout:
Create the primary floral impression: Using the Stencil Art: Bowl of Beauty layering stencil and fresh dye inks (Highland Flora, Earthy Embrace, and Sage Garden), blend your floral image onto smooth white cardstock. Set the panel aside to dry completely, and clean your stencils thoroughly with warm water or stamp cleaner so no ink transfers in later steps.
Cut the colored floral die cut: Align the Stencil Art: Bowl of Beauty Add-On Die over your dried floral impression and run it through your die-cutting machine.
Create a blank floral die cut: Use the same Stencil Art: Bowl of Beauty Add-On Die to cut a plain, uncolored silhouette from white cardstock. (Pro Tip: Use clean, non-scuffed cutting plates when creating the blank die cut so the white cardstock remains pristine).
Create the mirrored floral die cut: Flip your blank white die cut over so the back is facing up, and secure it onto a Sticky Mat. Place the B-side (reverse side) of the Stencil Art: Bowl of Beauty layering stencils over the flipped die cut, and blend using the exact same ink colors as your first piece. Set it aside to dry.

Did You Know?
Most layering stencils are reversible! Flipping a stencil over (using the "B-side") allows you to mirror an asymmetrical floral image. By die-cutting a blank shape first and ink-blending the reverse side, you can create perfectly symmetrical left-and-right clusters that frame a page without needing two different stamp or stencil sets.
Designing Your Album Cover Layout with Curved Die Cuts
The next step to maximize your card album presentation is arranging your elements so that your floral die cuts become the undeniable focal point on the page. When you join the two mirrored die cuts together in the center, the opposing curves naturally dictate the flow of your design in an effortless, clean way.
By anchoring your florals along a curved edge, you leave plenty of breathing room for bold titles and interactive transparent elements, preventing a large 9x12 page from feeling overcrowded.
Adding Finishing Touches to Your Card Album Cover
Using the curvature of the stenciled pieces leads to a clean, cohesive layout, while incorporating mixed textures and physical dimension helps highlight every detail on the project. Mixing clear acetate, plush foam tape, and sparkling embellishments ensures your cover page feels sturdy and special every time you open your album.

Step-by-Step Tutorial: Presentation Page Assembly
Create the transparent base: Cut a 9"x12" piece of thick, clear acetate to serve as your durable cover page base. Next, trace a 12" circle onto your background paper or cardstock of choice, and trim off a crescent segment measuring roughly 4" wide at its thickest point. Adhere this curved paper piece flush along the right edge of the clear acetate transparency.
Adhere the floral die cuts: Apply Foam Adhesive behind both of your dried floral die cuts and attach them along the inner curved circumference of the crescent paper. (Note: Make sure the edges of the die cuts sit neatly inside the outer 9"x12" boundary of the acetate base so they don't catch when turning pages).
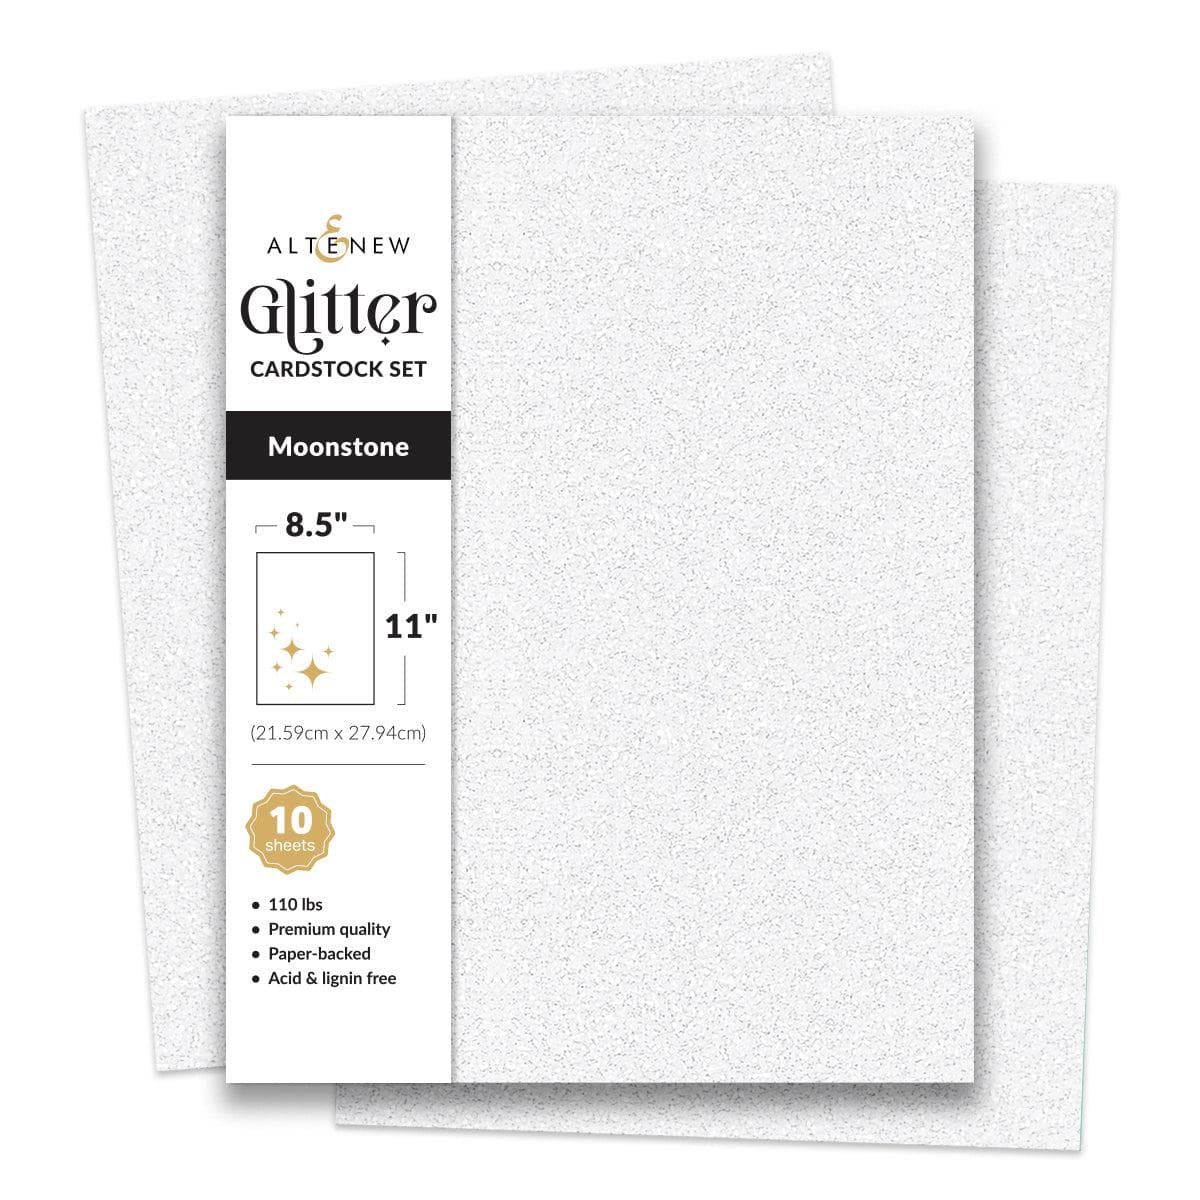
Create a bold title or year: Use the Bold Numerals Die Set to cut your desired numbers (such as the current year) from Moonstone Glitter Cardstock. Adhere them to the right of the floral die cuts using small foam adhesive shapes for extra lift.
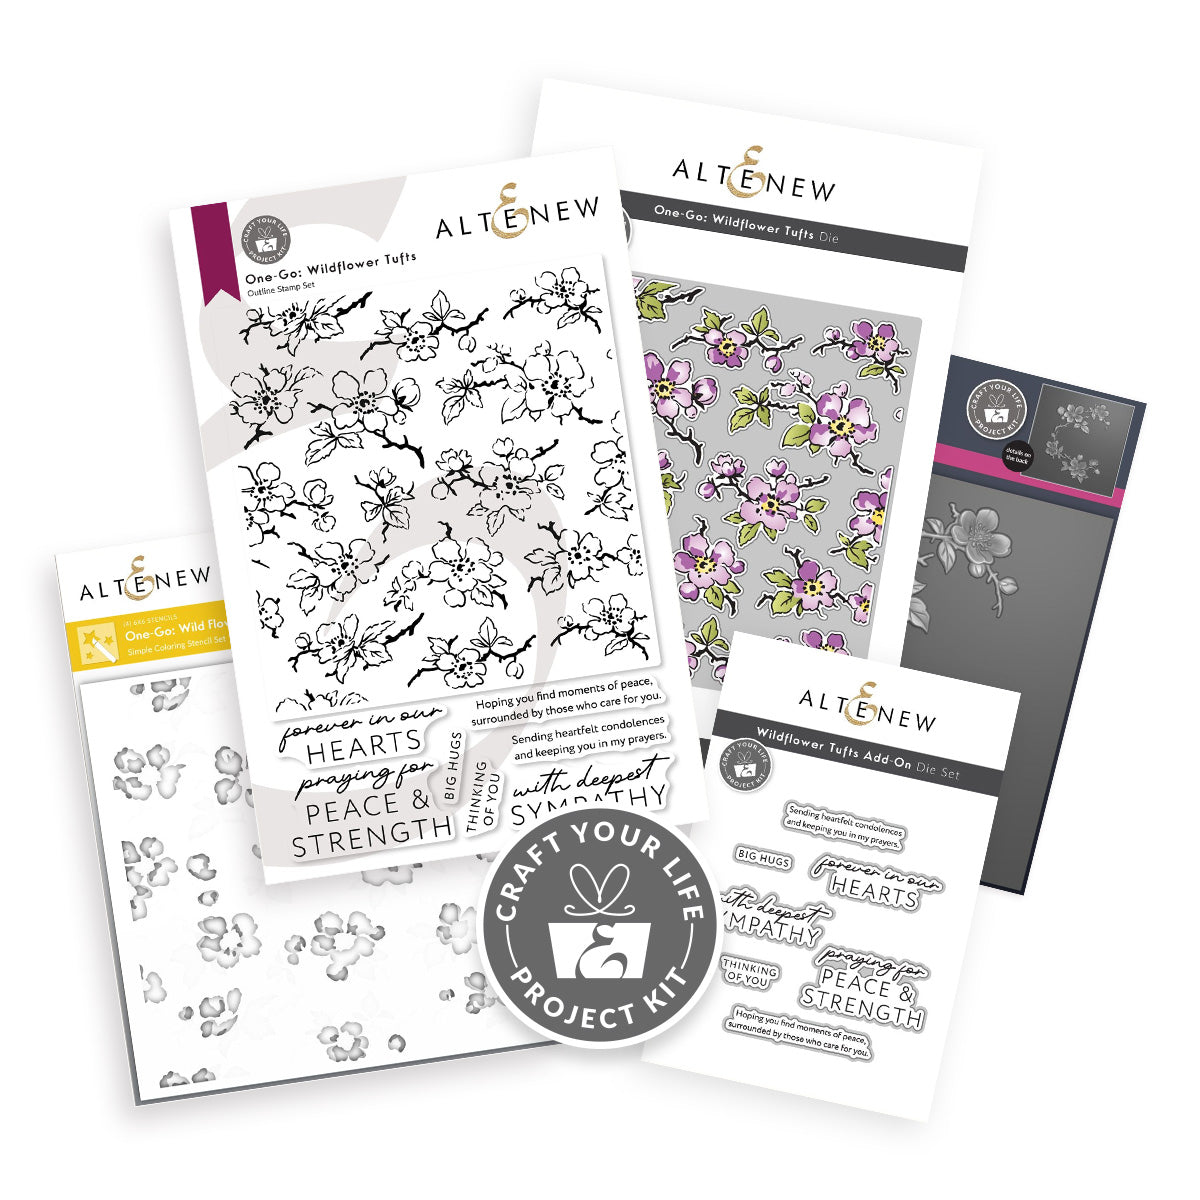
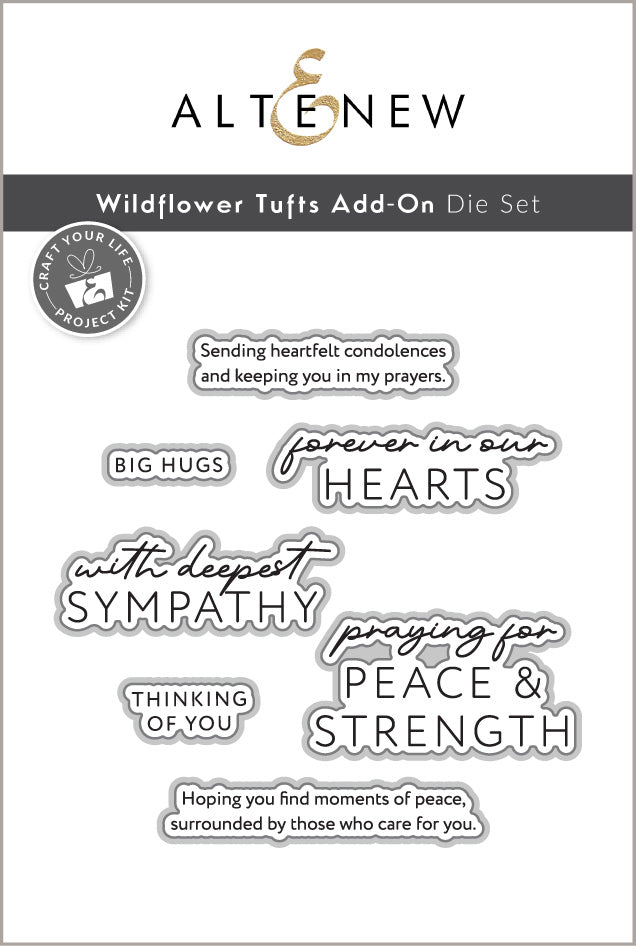
Stamp and layer a subtitle sentiment: Using Obsidian Pigment Ink, stamp a sentiment from the Craft Your Life Project Kit: One Go Wildflower Tufts onto white cardstock, cut it out with the coordinating Add-On Die set, and adhere it just below your glitter numeral die cuts.
Add a finishing touch of shine: Scatter a combination of Iridescent Crystals Gem Sparkle and Mother of Pearl Gem Sparkle along the curved edge of the paper crescent and around your stamped sentiment to draw the eye across the design.

I hope this project inspires you to maximize your card album presentation using layering stencils and vibrant dye inks! Starting your albums with a custom, dimensional cover page is one of the best ways to showcase your creativity and set the tone for the handmade cards and memories waiting inside.
I cannot wait to see what you create!
XO,
Nathalie

Get a FREE Gift Comfy Cut Craft Knife on orders over $65 from November 14, 2026 at 12:01 AM EST until November 15, 2026 at 11:59 PM EST. Shop here: https://oltonew.shop/collections/all-the-paper-crafting-supplies-you-need
Until supplies last.
|