Save Time on Cardmaking with One-Go Solid Sentiment Banners
Hi crafty friends! It's Mindy joining you today!
Key Takeaways
Streamlined Cardmaking Efficiency: The One-Go: Solid Sentiment Banners system allows cardmakers to stamp, press, or hot foil nine sentiments simultaneously and cut them all out in a single pass using a coordinating die.
Versatile Sentiment Styles: The collection provides versatile design options with three distinct fishtail banner shapes: straight, curved, and wavy.
Stash-Building Strategy: Pre-making sentiment banners in bulk saves significant assembly time on future crafting projects, ensuring a ready-to-go supply when finishing a card.
Vibrant Layered Ink Blending: Using small blending brushes on white cardstock keeps ink colors vibrant and true. Combining two tones (like warm coral for the seahorse and dual greens for the seaweed) creates realistic depth and dimension without needing colored cardstock.
Tone-on-Tone Background Technique: Stamping images onto matching colored cardstock (e.g., blue ink on blue cardstock) creates a subtle underwater texture that adds interest without competing with the main focal point.
Contained Splatter Masking: Utilizing a die-cut frame as a stencil/mask isolates iridescent splatters to the center of the card. This technique draws focus to the main image and mimics light reflecting through water.
Dimension with Foam Adhesive: Elevating focal elements like the seahorse and seaweed with foam tape creates shadows and physical separation, making the final handmade card look dynamic and polished.
One of my favorite ways to save time while cardmaking is finding products that help streamline the process, and the new One-Go: Solid Sentiment Banners does exactly that! Whether you choose the stamp set or BetterPress plate, you can create nine sentiments all at once and cut them out in a single pass with the coordinating die.

This system works so well because sentiments are often the last thing I add to a card, and having a collection ready to go makes finishing projects much faster.
The set includes three different fishtail banner styles—straight, curved, and wavy—so it's easy to find a sentiment shape that complements your design. I also love that one quick session can stock your sentiment stash for multiple cards.
Ink Blending
For today's card, I paired the sentiment banners with the Graceful Seahorse Stamp and Die Set. I die cut all of the pieces from white cardstock and used small blending brushes to add color.

The seahorse was ink blended with Coral Bliss from the Tea Party Collection and Peachy Glow from the Sun Kissed Delights Collection. Starting with white cardstock allows the ink colors to stay vibrant and true, while ink blending adds soft shading and dimension without requiring multiple cardstock colors. The warm coral tones also create a beautiful contrast against the cool underwater background.
For the seaweed, I used Bamboo and Parrot inks from the Tropical Forest Collection before assembling the pieces according to the layering guide. Using two shades of green adds depth and helps the foliage feel more natural and realistic.
Creating An Underwater Background
To create the underwater scene, I started with a panel of Teal Cave cardstock and stamped images from the Graceful Seahorse Silhouette Stamp Set using Teal Cave and Galactic Stream inks from the Sweet Dream Fresh Dye Ink Collection.

Stamping similar colors onto the cardstock creates a subtle tone-on-tone effect that adds interest without competing with the focal point. This is a great technique when you want texture and detail in the background while still allowing the main image to stand out.
To add some extra shimmer and interest, I die cut one of the frames from the Ocean Windows Die Set and used it as a mask. After placing the frame over the background panel, I splattered Iridescent Ink Spray through the opening. The mask keeps the splatter contained to the center of the design, helping draw the eye directly to the seahorse while creating the look of light reflecting through water.
Adding The Sentiment
For the sentiment, I reached for the One-Go: Solid Sentiment Banners Plate and hot foiled the entire set using Brushed Gold Foil.

The gold foil adds an elegant touch and helps the sentiment stand out against the cool ocean-inspired colors. One of my favorite things about the One-Go system is its versatility—you can stamp, BetterPress, or hot foil the sentiments depending on the look you want to achieve. Creating all nine sentiments at once makes the extra effort of foiling well worth it.
After die cutting the sentiments, I selected the greeting that best fit my project and saved the rest for future cards. Having coordinating sentiments ready to go is a huge time saver when inspiration strikes.
Finishing The Card
To assemble the card, I attached the seahorse and seaweed with foam tape to add dimension and bring the underwater scene to life.
Adding foam adhesive creates shadows and separation between the layers, making the design feel more dynamic. The added depth helps the seahorse become the star of the card while giving the scene a more realistic underwater look.
As a finishing touch, I scattered a few Crystal Moonlight Sequins around the design for a little extra sparkle. The iridescent finish ties in beautifully with the splattered shimmer background and adds just enough shine without overwhelming the card.

The combination of soft ink blending, subtle background details, and ready-to-use sentiments makes this a simple card design that comes together quickly while still feeling polished and complete.
If you're looking for easy handmade card ideas, the Mini Delight: Graceful Seahorse Stamp & Die Set paired with the One-Go: Solid Sentiment Banners is a combination worth trying. The underwater theme, layered ink blending, and hot foiled sentiments create a card that's both elegant and easy to recreate. Plus, having nine sentiments ready to use makes future cardmaking projects even faster and more enjoyable.

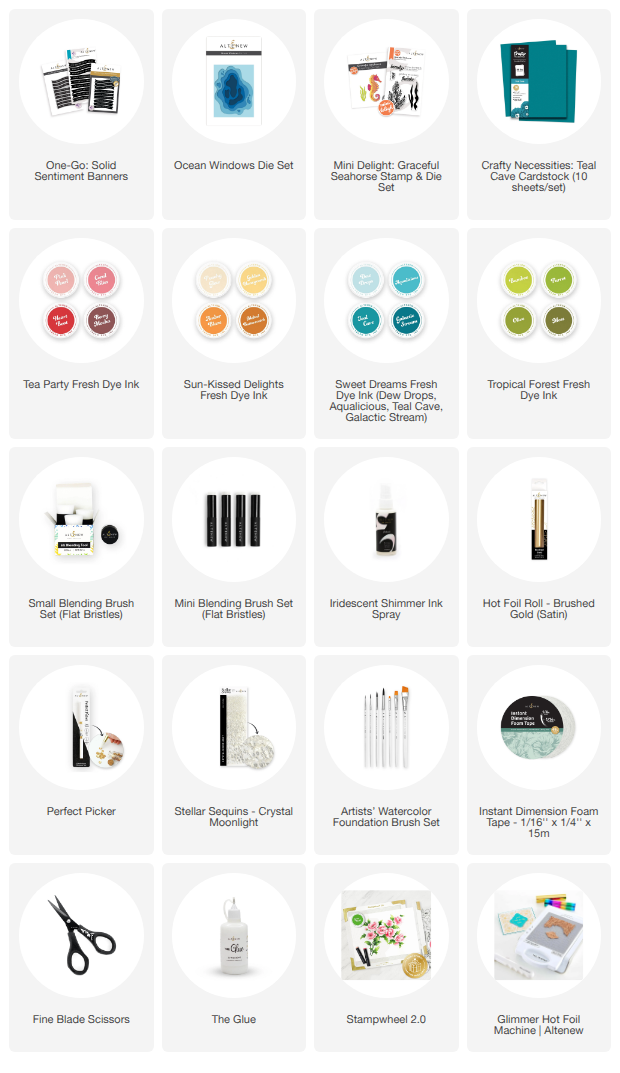
SUPPLIES