Stop Struggling With Ink Blending - This Vellum Trick Fixes Everything!
Key Takeaways
Forgiving Technique: You don’t need perfect blending skills; the vellum acts as a "soft-focus lens" that instantly hides streaks and harsh lines.
Anti-Static is Essential: Always use an anti-static powder tool before heat embossing on vellum, as the surface is prone to attracting stray powder.
Strategic Adhesive: To keep your project clean, only apply adhesive to the back of the vellum where it will be covered by cardstock elements.
High Contrast Colors: Use vibrant ink shades (like Aqualicious or Fuchsia) under the vellum; the translucent layer will soften them into a beautiful, professional-looking glow.
Versatile Application: While demonstrated on tags, this "vellum overlay" technique works perfectly for full-sized card fronts and scrapbook layouts.
Hello there, Michelle here with another edition of Terrific Tags with Michelle. Today I have a fun technique to share - using vellum to get smooth ink blending.
Not great at ink blending? You don't need to be. This trick fixes even the worse ink blending! I am creating tags today, but this will work great on cards too!

The Vellum Layer
I started off my tags by creating the vellum layers which will go on top of the ink blended backgrounds.
I took a panel of Vellum Translucent Paper and placed it onto the Sticky Mat of the Stampwheel. I then placed the image from Flowers & Flourishes Stamp Set on top. I added the top flip plate of the Stampwheel on top to pick up the stamp. I then prepped the vellum using an anti-static powder tool.
This step is really important with vellum as it likes to hold onto embossing powder!

I flipped the plate over and inked up the stamp using Embossing Ink. I placed the plate down onto the Stampwheel base to transfer the ink onto the vellum.
I applied Pure White Crisp Embossing Powder and heat set. The piece was then set aside while I worked on the tag portion.

I die cut one of the largest tags from the Terrific Tags Die Set from Classic Crest 110lb Solar White Cardstock. I took the coordinating die for the stamped image from Flowers & Flourishes Die Set and placed it on top of the tag. I held it in place with low-tack tape before running it thorugh my die cutting machine.
I then adhered the tag pieces to the vellum using Glue Tape and a little liquid glue. I repeated the process for the other tag.
I then cut off the excess vellum from around the sides of the tag using scissors.
The Ink Blending
I die cut two more tags from Classic Crest 110lb Cardstock and added ink blending to them using Small Blending Brushes.

Tag 1 uses:
- Aqualicious Fresh Dye Ink at the top.
- Tide Blue Fresh Dye Ink in the middle.
- Starlight Fresh Dye Ink at the bottom.

Tag 2 uses:
- Chamomile Fresh Dye Ink at the top.
- Snapdragon Fresh Dye Ink in the middle.
- Fuchsia Fresh Dye Ink at the bottom.
Whilst these brushes do help massively with smooth ink blending, don't worry about how your ink blending looks at this point. Next up is the trick with vellum that solves everything!
Let's Smooth Out the Ink Blending
I added adhesive to the back of the vellum layers, just where the cardstock overlaps it (so that the adhesive will not show on the front of the tags) and adhered it to the the ink blending tag backgrounds.
As you can see, once the vellum layers on top of the ink blending, all you get is the smooth color gradiation from the tag below!

To finish off the tags, I die cut the 'hello' from Stylish Greetings 2 Die Set from Crafty Necessities: Jet Black Cardstock five times for each tag (10 in total). I adhered the five layers one on top of another using liquid glue and then adhered to the tags.
I stamped 'sending hugs' from Flowers & Flourishes Stamp Set onto more Crafty Necessities: Jet Black Cardstock using Embossing Ink. I applied Pure White Crisp Embossing Powder and heat set. They were cut into strips and adhered to the tags using Black Instant Dimension Foam Tape.
I kept the sentiments fairly small so that I did not cover up too much of the ink blending peeking through the vellum!
I added black twine through the top of the tags and tied in a bow at the front. I then adhered Stellar Sequins - Clear Iridescent to the tags to embellish.
Video Tutorial
I hope I have inspired you to try adding a vellum layer on top of ink blending. Even of you are a pro at ink blending and get smooth results every time, the vellum layer adds a lovely softness to projects! You can watch the video tutorial below or over on YouTube.

Thank you so much for stopping by today, I hope you have a wonderful day!

Get a FREE Dreaming in Watercolor Zipper Pouch (280mm x 195mm) (worth $21) on orders over $89 from May 16, 2026 at 12:01 AM EDT until May 17, 2026 at 11:59 PM EDT. Shop here: https://oltonew.shop/collections/all-the-paper-crafting-supplies-you-need
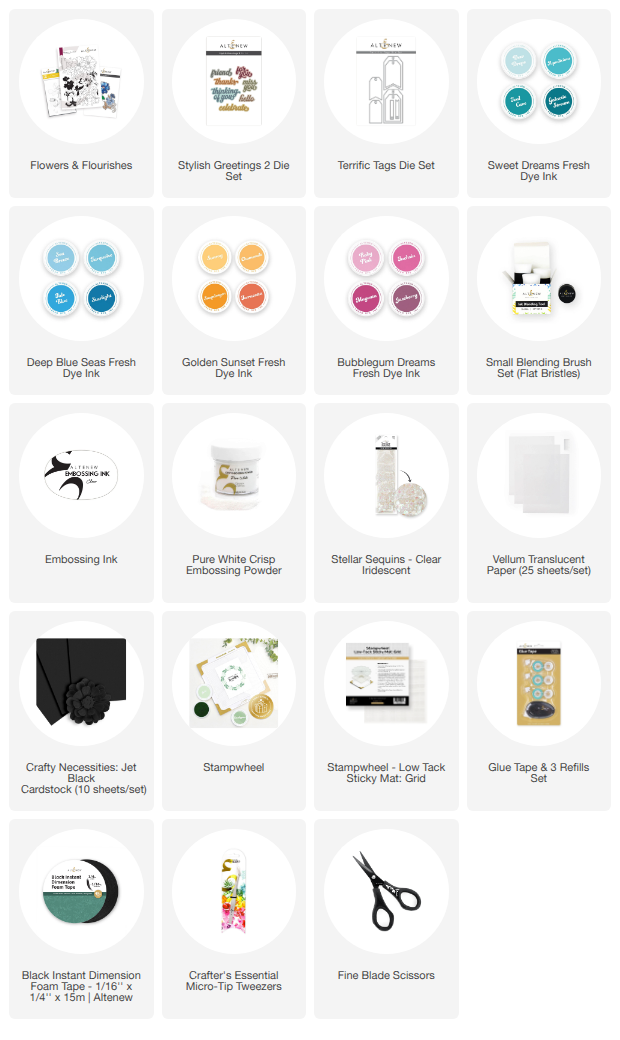
SUPPLY LIST